Photography and Photoshop and DavidB
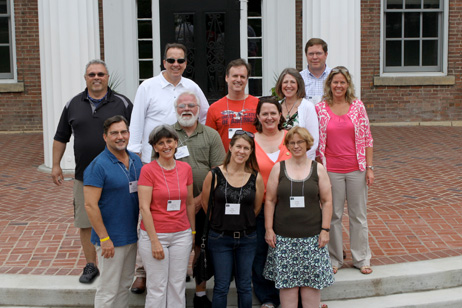
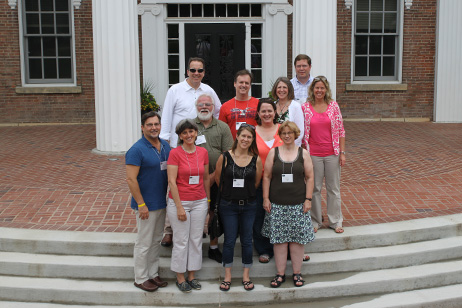
Over the last seven years I have been the photographer for my Alma Mater’s Homecoming events. This includes taking the group class photos for the years celebrating their reunions. Imagine me, standing on a ladder in the midday sun, directing a group of very excited alum, who have not seen each other in 30 years!
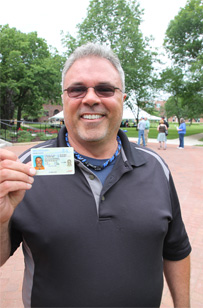
Once in awhile one or two people show up after the shot has been taken, and the class has dispersed to the various events on campus. Being in the class photo is an important and fun memory of visiting the College, so it is my job to try and shift reality and place them in the class group photo. This is when I mix my love of photography and put on my Photoshop wizard hat!
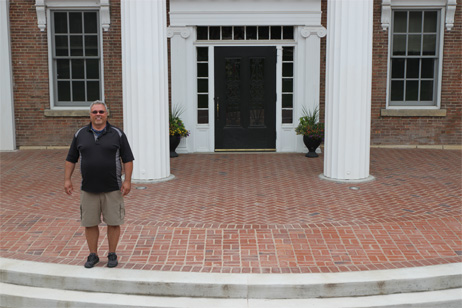
I study the class photo I took earlier in the day, find an approximate location where there is a gap, usually on the edges of the group shot, and ask the late-comer to stand in that spot.
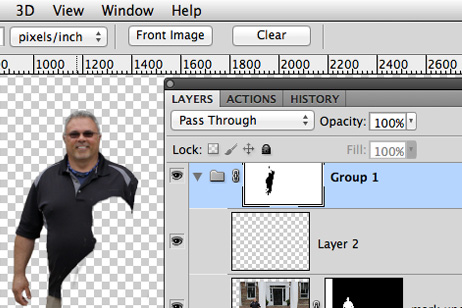
Once back in front of my Mac, I start my magic. Using the original class photo as a base plate, I try to match the exact dimensions and size of the two photos. When registering 4 colour film seps for the print world (which I did before YourPlanB at Infocomm) I became very good at lining up various parts of 2 images until they matched exactly. I use a variation of the technique in Photoshop – lining up letters, or tree branches, or window sills as registration marks. This way, when complete, nothing is bigger or out of place than anything else in the final photo.
Once lined up and in the correct proportion, I start to carve away anything that isn’t the subject (in this case, Mark) using various Photoshop techniques I have honed over the years (dare I say 2 decades with Adobe?). I check the lighting levels, any stray hairs, put in any “natural” shadows, and the photo looks as if he was there, with his classmates!
Comment from Client when she received the updated photo – “I can’t even tell you photoshopped him in!!”
